

Like most big initiatives, the first step is to clearly define your goals. Do you need to build a control room from scratch? Or do you just need to renovate your existing space?
Be as specific as possible here. Goals like “make operators more productive” are important. But without context, it’s impossible to track progress. Instead, set S.M.A.R.T. goals like:
Once your goals are set, map out a project roadmap with key milestones. Having a documented plan in place early on will keep all stakeholders aligned as the project kicks into high gear.
Now it’s time to dig into how your control room actually functions. The best way is by completing an operational analysis.
The goal here is to intimately understand how your employees work on a minute-by-minute basis. This includes knowing:
Data to support your analysis can come from:
Taking the time for an operational analysis seems tedious. But the data uncovered here will directly inform console placement, workflow design, room layout, and more.
With goals defined and data gathered, it’s time to start creating preliminary room designs.
The first step? Map out workflow diagrams that take into account:
These workflow maps serve as the foundation for control room layouts.
Next, work with your architect to translate findings into to high-level room schematics. Plus, make sure to simulate various emergency scenarios to pressure test designs.
Expect to go through multiple iterations here. But with each new version, your layout will better address goals, workflow constraints, and end-user needs uncovered during the operational analysis.
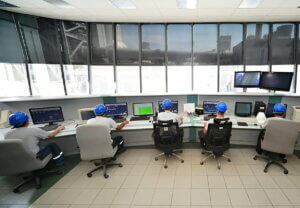
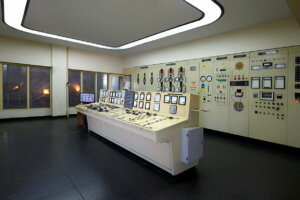
Control room layouts evolve rapidly thanks to advances in display and collaboration technology.
With endless options to choose from, narrowing down equipment comes down to two main factors:
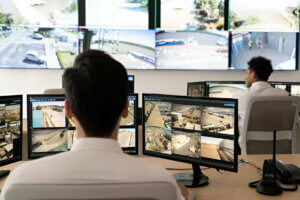
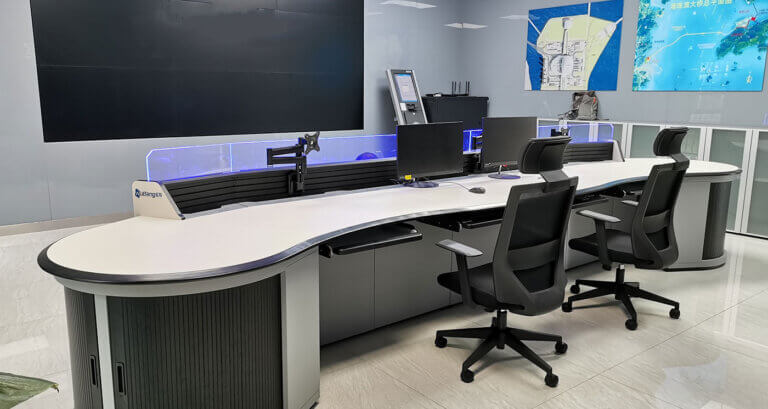
Prioritize tools and furniture that directly impact operator productivity, health and safety. For most control rooms, that includes:
De-prioritize non-essential equipment like aesthetic designs flourishes or high-end furniture.
The lifecycle of a control room spans many years. Which is why gearing up for change during the design process is key.
When evaluating options, seek out equipment that’s:
Building future-proofing capabilities upfront reduces risk and positions your control room to accommodate new innovations down the road.
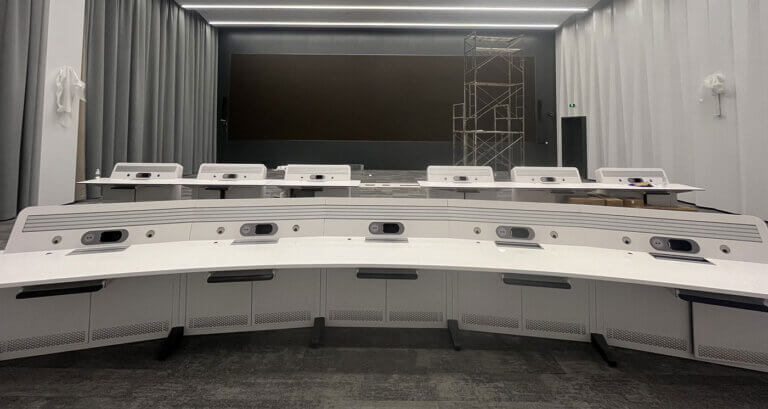
At this point, you should have a good idea of what you want your control room to look like, down to exact equipment models and placement.
Before pulling the trigger on construction, take one final design pass using 3D renderings and virtual walkthroughs.
These realistic visuals serve two important purposes:
Minor tweaks uncovered during this phase are MUCH easier to implement versus after construction kicks off.
With the design solidified, it’s go time! The build out phase involves:
During this flurry of activity, keep a close eye on the schedule and budget. Even with the best planning, complications can still pop up.
Work with contractors and architects to quickly resolve any hiccups that threaten milestone targets. Maintaining strong communication channels is key here.
Before operators step foot into the new space, take the control room for a test drive. Validation testing is critical for:
Thoroughly vet that displays, consoles and software operate as expected. For complex systems, consider testing individual components first before assessing broader interactions.
Next, bring in end users to collaborate, manage simulated events, and execute regular duties. Gather feedback on layout, ergonomics and workflow.
At the end of testing, you should have concrete data showing how the control room stacks up against goals defined in step one. If outcomes aren’t hitting targets, use findings to make final tweaks before going live.
Even after rigorous testing, expect a learning curve as employees get up to speed on new processes enabled by the upgraded space.
Reduce the impact of change by running targeted training on:
Simulators that emulate emergency scenarios are especially impactful for preparing operators to handle intense situations.
Celebrate a successful launch! But don’t get complacent once the new control room goes live.
Schedule regular “tune-ups” to solicit feedback from employees and assess metrics against goals:
Gather employee feedback on what’s working well and what needs improvement. Quick hits can be addressed immediately, while larger initiatives feed into next year’s roadmap.
Take a step back to review control room goals and key performance indicators (KPIs). Discuss new optimization opportunities that can be integrated into planning for next year’s roadmap.
Treat your control center as a dynamic, ever-evolving space. Continual, small enhancements over time can stack up to outsized impacts.
Designing a high-functioning control room takes willingness to iterate, gather input, and keep end goals top of mind.
While every organization’s needs are different, this checklist summarizes key steps for control room success:
? Clearly define goals and create a roadmap
? Conduct an operational analysis
? Map out workflow diagrams
? Develop room layout schematics
? Evaluate and select critical equipment
? Confirm designs using 3D renderings
? Build out and install gear
? Functionally test capabilities
? Train employees on systems
? Continuously gather feedback
Ready to transform your control center? Now that you know how to build a control room from the ground up, it’s time to turn that vision into reality. Reach out if you need assistance sourcing world-class partners to collaborate with. Here’s to taking your facility (and operations) to the next level!